If you’re new to metal stamp for jewelry, it’s easy to face frustrations like misaligned marks or blurry impressions. This beginner metal stamping tutorial breaks down the process into simple, fail-proof steps—plus essential tools and pro tips—to help you create polished DIY jewelry with confidence.
To get started, gather these must-have tools (we’ve included beginner-friendly picks to avoid guesswork):
-
Core Tools: High hardness steel stamp (3-6mm size works best for most jewelry pieces), jewelry metal stamp hammer (lightweight for control), metal positioning ruler (prevents slippage), and soft metal blanks (sterling silver, copper, or aluminum—ideal for beginners).
-
Auxiliary Tools: Polishing cloth (for sharpening impressions), non-slip work mat (secures metal blanks), and metal shears (for cutting blanks to size).
Our custom jewelry metal stamp set includes a positioning ruler, hammer, and 5pcs 3mm steel stamps—everything you need to start stamping right away.
First, prep your materials and setup to avoid common mistakes:
- Clean the metal blank with a mild degreaser or rubbing alcohol to remove oils (fingerprints can cause stamping errors). Dry it thoroughly with a lint-free cloth.
- Cut the blank to your desired shape (pendants, charms, or earrings) using metal shears—file the edges gently to smooth rough spots.
- Lay a non-slip mat on your workbench and place the blank on top. Secure it with tape if needed—stability is key for crisp impressions when using a steel stamp for soft metal.

Misalignment is a beginner’s biggest hurdle—follow these tips for precise placement:
- Use the positioning ruler to mark your desired stamping spot with a pencil (erasable after finishing). For words or patterns, space marks evenly to avoid crowding.
- Hold the metal stamp firmly by the handle, aligning the design with your marks. Keep the stamp perpendicular to the blank—tilting will blur the impression.
- Practice on scrap metal first! Get comfortable with how the stamp sits before moving to your final blank. This trick is a game-changer for how to use steel stamp on soft metal like a pro.
Our metal stamp features an anti-slip handle that improves grip, making positioning even easier for newbies. Check out the anti-slip handle metal stamp here.
The perfect strike creates a clear impression without damaging the metal:
- Hold the hammer straight above the stamp (about 6-8 inches high) and strike firmly but evenly. One solid hit is better than multiple light taps—repeated strikes can distort the design.
- For softer metals (like aluminum), use medium force; harder metals (like sterling silver) may need a slightly heavier strike. Adjust based on your blank’s thickness (1mm+ works best for durability).
- Keep your wrist steady—avoid swinging the hammer sideways, as this can bend the stamp or shift the blank.

Add the final touches to make your design shine:
- Use a polishing cloth to buff the stamped area gently. This enhances the contrast of the impression, making it more visible.
- For a vintage look, apply a small amount of metal patina (follow the product instructions) and wipe away excess—this darkens the grooves of the stamp.
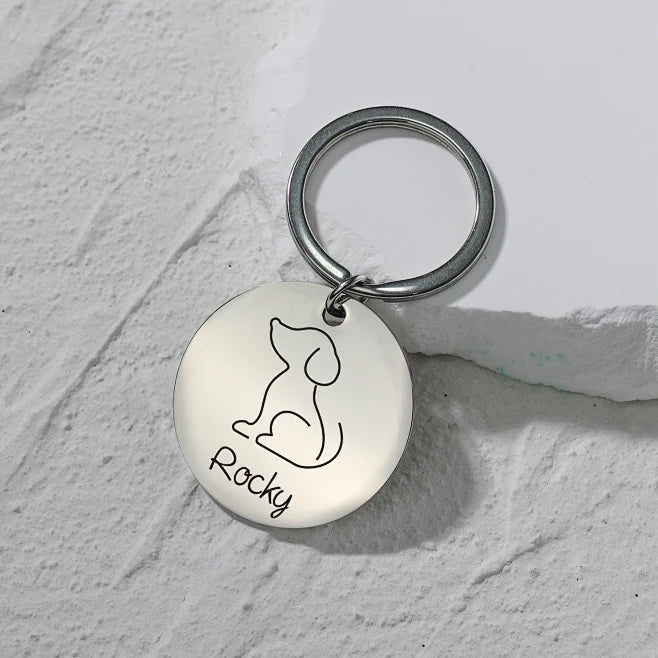
- Attach chains, jump rings, or earring hooks to turn your blank into a wearable piece. Now you’ve mastered jewelry metal stamp DIY!
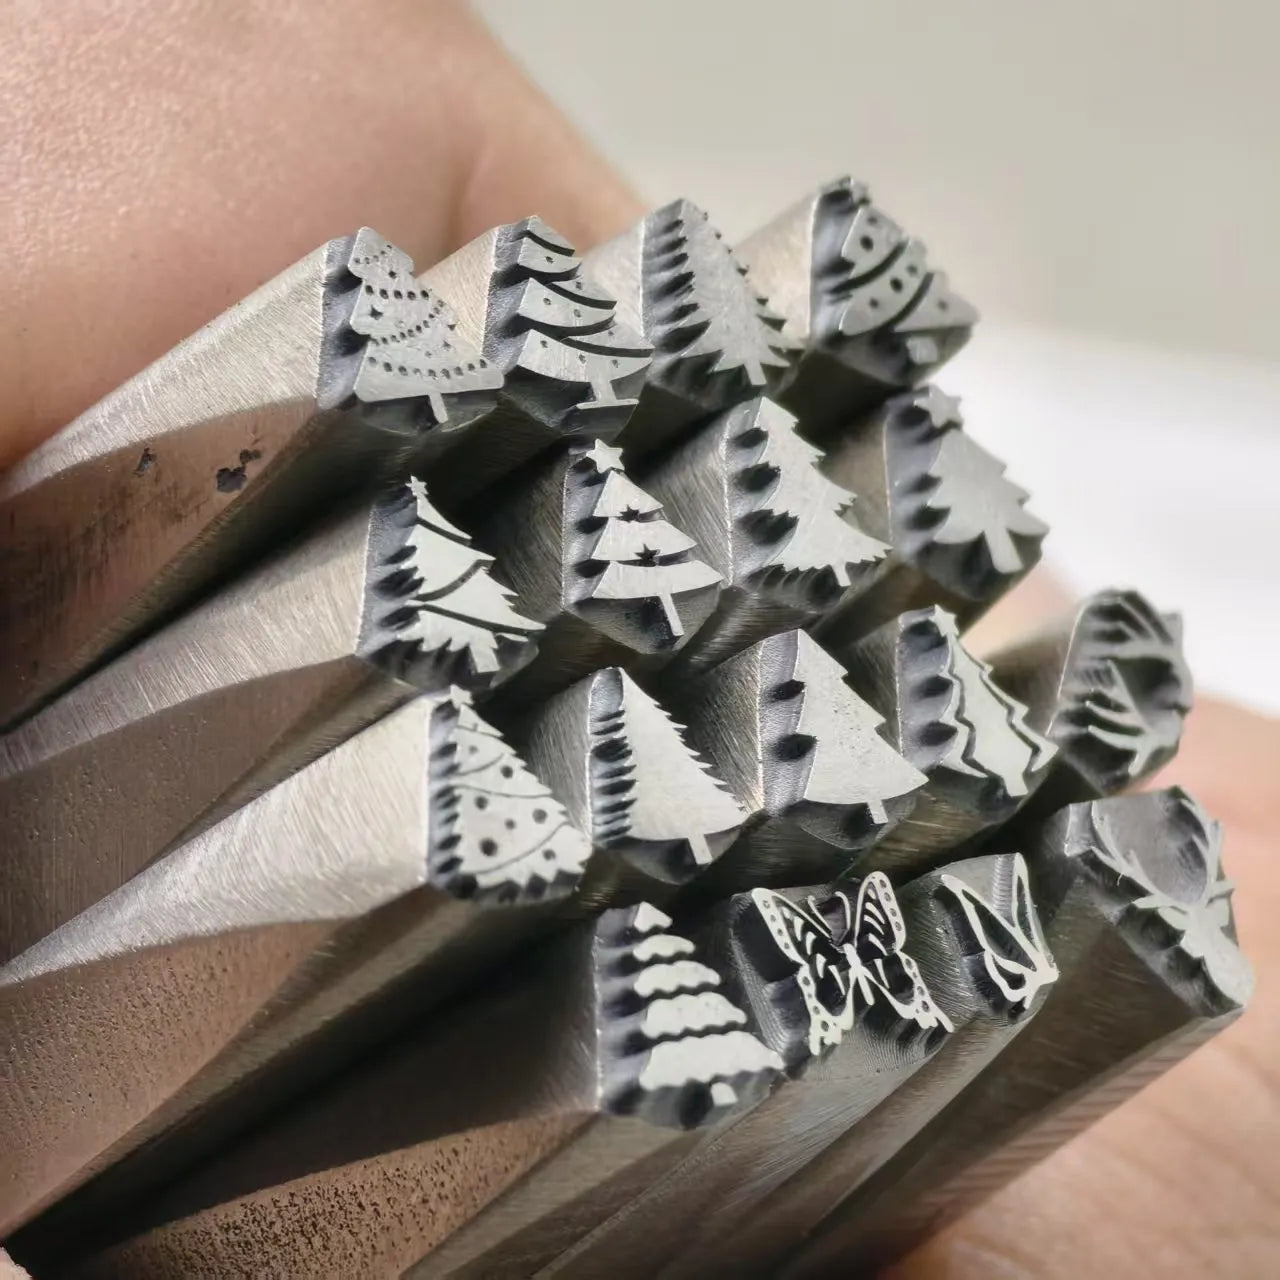
Looking for inspiration? Try our Christmas-themed steel stamps (snowflakes, reindeer, or “Merry Christmas”) to create one-of-a-kind holiday gifts.
Explore the festive collection here.
A: Blurriness usually comes from a dull stamp or uneven force. Opt for a high hardness steel stamp (HRC50+). Our steel stamp has a hardness rating of HRC55, ensuring sharp, long-lasting impressions.
A: Use blanks that are at least 1mm thick—thinner metal is more prone to warping. Also, avoid striking too hard; a controlled hit is sufficient for most soft metals.
A: Yes! These stamps work on most soft metals like brass, titanium, and even leather (for accessory accents). Stick to non-ferrous metals for best results.
Using a metal stamp for jewelry is a fun, affordable way to create custom DIY pieces—all you need is the right tools, precise positioning, and steady force. With this guide, beginners can skip the trial and error and start making polished jewelry in no time.
What jewelry project are you going to make with metal stamps? Share below!


